Vegetables And Fruits: How To Make Preserves?
The end of summer and the beginning of autumn is the ideal time to can summer vegetables and fruits. It is interesting to make homemade preserves using raw, blanched, or cooked fruits and vegetables to enjoy their flavor throughout the winter. We will explain how to make preserves in 5 questions.
1- Why is it necessary to sterilize homemade preserves?
To make homemade preserves with summer fruits or vegetables, it is essential to first sterilize the empty containers, and then the jars filled with your culinary preparations or raw ingredients (raw or simply blanched).
Sterilization ensures the preservation of food by destroying all microorganisms at a temperature higher than 100°C.
Thanks to this heat treatment, sterilized jars can be preserved for several years, from 1 year to a maximum of 5 years.
Note: It is important not to confuse this sterilization method with lacto-fermentation (another method that allows you to prepare pickles using only raw vegetables and salted water).
2- How to sterilize empty jars or bottles?
The first step to making homemade preserves is to clean the jars and let them air dry. Once they are clean, you still need to sterilize them to ensure perfect hygiene for your culinary preparations.
You can use a large pot or a stockpot. Submerge the jars in cold water and gradually bring to a boil to avoid thermal shock. Let it boil for about ten minutes, then allow the containers to cool in the water until ready to fill.
Another method of sterilizing jars is to use the oven. Place the jars and their lids without the rubber seal on the oven rack.
Set the oven to 150°C for 20 minutes and place the rack in the oven without waiting for preheating so that the temperature rises gradually. Leave the jars in the oven until ready to fill.
3- How to prepare food for canning?
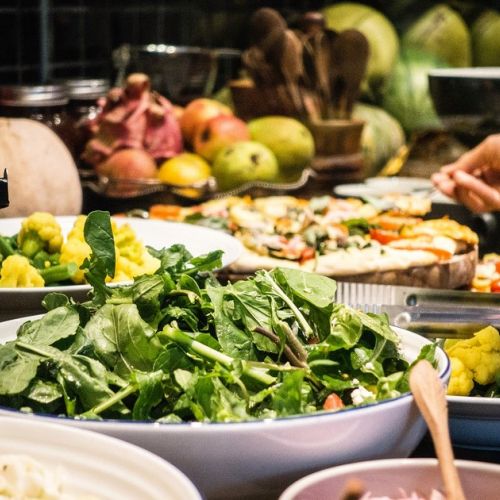
To make homemade preserves, it is essential to use very fresh and good quality ingredients, such as fruits and vegetables freshly picked from your garden or recently purchased from a local producer.
The quality of the preserves depends on the freshness of the raw materials used. In addition, never put in jars ingredients that have been previously frozen.
Start by thoroughly washing and drying the vegetables. Prepare them as if you were going to cook them, shelling the peas and trimming the green beans for example. Most vegetables like green beans, peppers, and peas need to be blanched in boiling water for 5 minutes before being placed in jars.
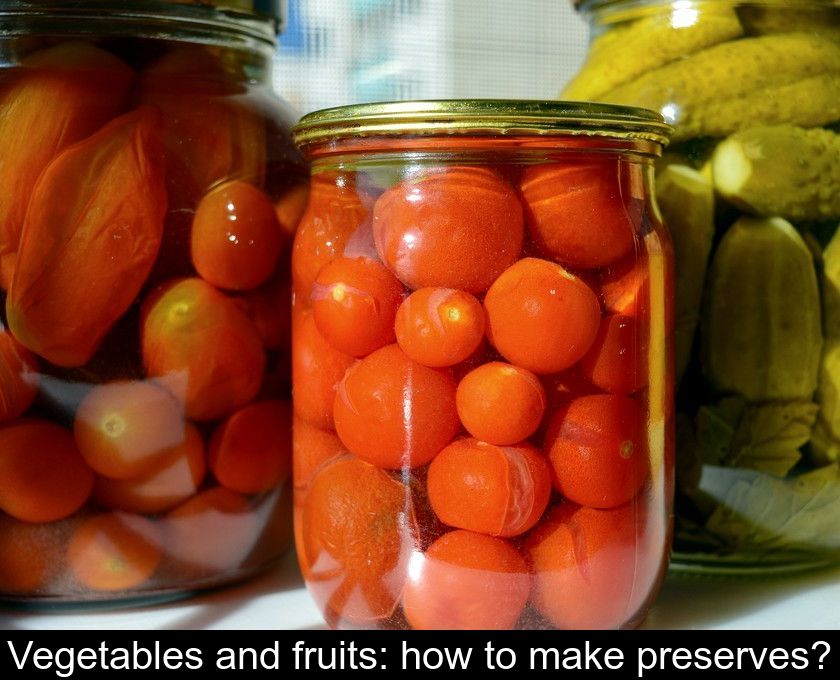
Only tomatoes can be put in jars raw, after being peeled and seeded. This exception is probably explained by the fact that tomatoes are actually fruits and not vegetables.
You can also preserve cooked vegetables in ratatouille or jardinière, such as French-style peas for example.
4- How to sterilize filled jars?
To make homemade preserves, you should fill the jars with the still hot food if possible, leaving a space of up to 2 cm from the rim. When filling, make sure to pack the food tightly to remove as much air as possible from inside the jar. However, always leave some empty space at the top of the jar.
For sterilizing filled jars, you don't necessarily need a sterilizer. You can use the same methods as for empty jars. First, place the jars in a large pot and cover them with cold water so that the water is 2.5 cm above the jars.
Bring it to a boil, then reduce the heat and let it simmer for 1 to 3 hours depending on your preparation. Let the jars cool before removing them and let them cool for 24 hours at room temperature.
If you prefer to use the oven, place the sealed jars on a baking sheet and pour water around them. Set the oven to 150°C and bake for one hour. Let your preserves cool in the closed oven for at least 40 minutes.
5- How to properly store homemade preserves?
Labeling is a very important final step in making homemade preserves. Get adhesive labels or a special glass marker to indicate the recipe name and preparation date.
Finally, store your homemade jars in a dry and cool place, away from light. You can keep them in a cupboard, pantry, or cellar.
These sterilized preserves, like our grandmothers used to make, allow us to enjoy sun-drenched fruits and vegetables all year round. They are very convenient and much healthier than store-bought preserves because you control the amounts of salt and sugar you put inside.