How To Make A Success Of Your Night Photos?
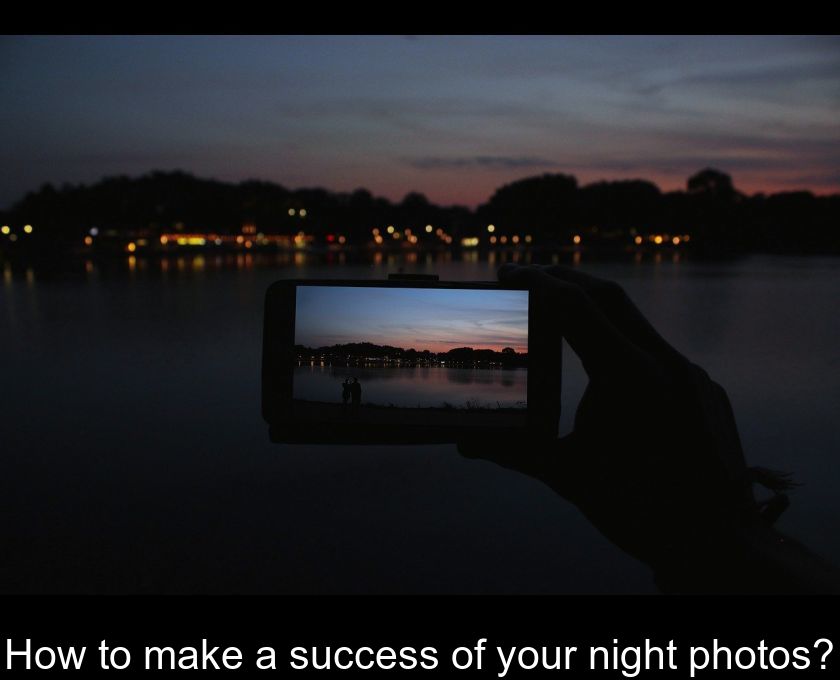
Shooting at night can be quite difficult for beginners. It requires you to manipulate ISO, aperture and shutter speed, among other things. Follow our tips to help you shoot in the dark. Once you learn the basics, you'll find that night photography is really fun. Don't be afraid to experiment, and you'll be rewarded with beautiful snapshots.
Choose your location carefully
Since you will be working in the dark, recognize your location to plan your images before shooting. Note any possible challenges or obstacles. Is the location lit with artificial light, neon or street lights? Do the lights change colors depending on the distance traveled or the time of day? What angle looks best? What framing do you do? How can you best maximize the light you have?
Prepare for long periods outdoors
When photographing at night, be prepared to be outside for long periods. It takes time and effort to get great night shots, from setting up the tripod and camera to adjusting the camera settings for proper exposure time, from choosing the location to timing the shot. Also keep in mind that it can be difficult to change camera settings or handle your tripod when your hands are cold, it is advisable to bring hand warmers or gloves.
Bring a flashlight
Even with the ambient city light, it can be difficult to see your camera's hand controls, to see the screws on your tripod, or simply to move around, especially in the wilderness. A small flashlight is a useful light source when you're moving through the night. You can even use it to light up part of your image.
Take pictures in manual mode
Trying to shoot in automatic mode will confuse your camera and you probably won't get the image you were hoping for. Manual shooting mode gives you full control over your camera's settings. Since night photography requires you to work slowly and methodically, take the time to get your settings right. Although some cameras or smartphones have Night modes, it is not advisable to use them
Use a wide opening
This will depend on the lens you are shooting with, but for night photography, the wider the better. That way you let in as much light as possible. It would be recommended to use lenses that can open at least as wide as f/2.8, if not wider around f/1.2 - f/1.8. The smaller the number, the wider the aperture and therefore the more light coming in. It is therefore advisable to use a very large aperture (usually less than f/4) for night photography to maximize the duration of the exposure
Keep your camera's ISO as low as possible
You might think that working with low light would require a high ISO setting, but that could be a mistake. The higher your ISO, the more grain becomes a problem, so you'll want to go as low as possible. Take a few test shots at different ISO settings to choose the one that works best for you. You may want to start around 800 and change as lighting conditions change and until you are satisfied.
Use a tripod for long exposures
Night photography usually requires long shutter speeds of 10 seconds or more so that you can absorb as much light as possible from the environment. How do you keep your shot focused for 10 seconds or more without shaking? That's why you'll need a solid tripod.
Shoot in Bulb mode for longer exposures
The longest shutter speed for most cameras is about 30 seconds. However, you will sometimes find yourself in situations where 30 seconds is not enough time to make a proper exposure. That's when Bulb mode comes into play. This feature allows you to open the shutter as long as you press the camera button.
Bulb mode requires more confidence to use, but it also allows you to experiment freely. Because it allows you to expose an image without any time constraints, it is perfect for 'light painting' where you can 'doodle' or 'draw' in the air using light sources such as a flashlight.
Make sure you shoot in RAW
JPEG is the perfect file format for most casual photographers because it doesn't take up too much space on your memory card. JPEG files can also be downloaded without being converted to another file. However, this file format also significantly compresses your image files, making it problematic when shooting scenes with high dynamic range. When shooting at night, change your image files to RAW in your camera's menu. RAW files take up a lot of space on your memory card, and your images have to be edited afterwards, but at least the quality of each image is preserved.
RAW is the best option for avoiding grainy images due to low light and post-processing. Unlike JPEG, RAW files retain their quality even after post-processing. After editing your image file, you can always convert a RAW file to the format of your choice, including JPEG or PNG.
Take test photos
Unlike shooting during the day, night photography requires you to be more methodical. You can't just press the shutter button when shooting in low light situations. You need to know the exact settings to use for your camera, and to do that, you need to take some test shots.
Test shots also allow you to fine-tune the settings of your camera. If your initial settings produced a dark image, adjust it again until you find the right exposure. Play around with different ISO levels, apertures and shutter speeds. First, take a normal aperture or shutter priority shot. Take note of the aperture and shutter speed settings, then gradually adjust them until you find the ideal exposure.

