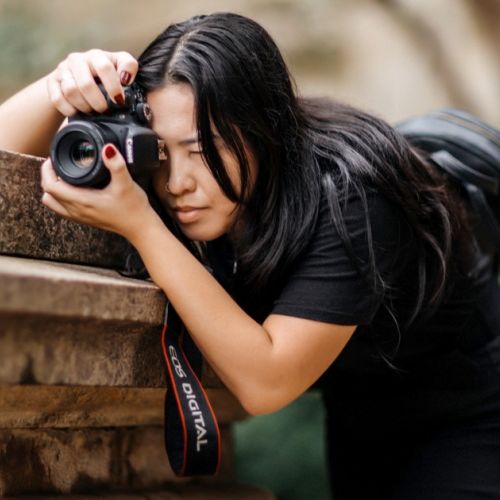
Photo: 3 Tips To Immortalize Your Travels In A Photo Book
Easy to make online, photo books are a simple way to preserve your most cherished holiday memories and showcase them to their best advantage. If you want to create a holiday photo album to share with family and friends, here are 3 tips for capturing your travels in a photo book.
1- Start by sorting out
Whether you choose to stay close to home or travel farther afield, holidays are always an opportunity to immortalize your loved ones as well as the new places you've discovered.
When you return from a few days of vacation, it is not uncommon to bring back several dozen or even several hundred shots.
That's why the first of our 3 tips for immortalizing your travels in a photo book is to sort through your images.
You can of course do this manually, deleting one by one the photos you find unsuccessful and duplicates in order to keep only your most beautiful shots.
But did you know that you can also take advantage of online tools to do this somewhat tedious step? Most photo book creation sites, like myalbumphoto for example, offer a free tool for storing and sorting your images.
This tool automatically generates timelines and takes care of selecting your best photos while avoiding duplicates and blurry or poorly framed images.
2- Trace your journey in pictures
The whole point of creating a travel photo album is to keep alive the memory of precious moments spent solo or with your loved ones in exceptional places.
This book should allow you to relive your best holiday memories over the pages. That's why our second tip for immortalizing your travels in a photo book is to follow a chronological order.
Even if you want to create an original album, chronological order is the most obvious because it allows you to remember every step of your trip, from the time you arrive there to the day you leave.
Feel free to recount your adventures in detail, with as many souvenir photos as possible, since your photo book can be up to 120 pages.
3- Personalize your photo book with the layout
Once you've selected your best holiday snaps and put them in chronological order, comes the personalization stage.
Sites that specialize in creating photo books now offer endless possibilities for making this object truly unique.
The last of our 3 tips for immortalizing your travels in a photo book is therefore to make the most of the customization tools available to you.
Start by choosing the exterior of your photo book, i.e.:
- the size of the book (S, M, L or XL)
- portrait or landscape format
- hard or soft cover.
As for the inside of the book, the layout is above all a matter of taste because there are so many possibilities.
If you like original layouts, you can opt for colored or patterned backgrounds, as well as cliparts that will make your creation more playful.
Here are some quick tips that should help you not forget anything:
- choose as your cover photo the image that best illustrates your trip
- remember to give your photo book a title and a date
- choose one or more photos for each page and arrange them as you wish
- don't forget to add captions to your pictures.
You lack inspiration or time? Don't panic! You can use themed books with predefined layouts to create your photo book faster and easier... adding a little personal touch of course!